How I Grew Roma Tomatoes in Containers During Drought in Northern California
Updated:
For a long time after I prepped my biggest plastic containers, I had a tough time deciding which tomato varieties I wanted to plant – I have too many favorites.
The decision became easier after most of my in-ground plants were demolished by earwigs during spring-time at our new place here in the San Francisco Bay Area.
After uncertainty about whether or not my in-ground tomato plants will grow up, I wanted to plant tomatoes that I knew would definitely produce a crop in my big containers, something other than cherry-type tomatoes.
Why bother with Roma tomatoes?
Roma tomatoes are great since they produce heavily and reliably, even in containers. They’re often found in cheap abundance at most grocery stores.
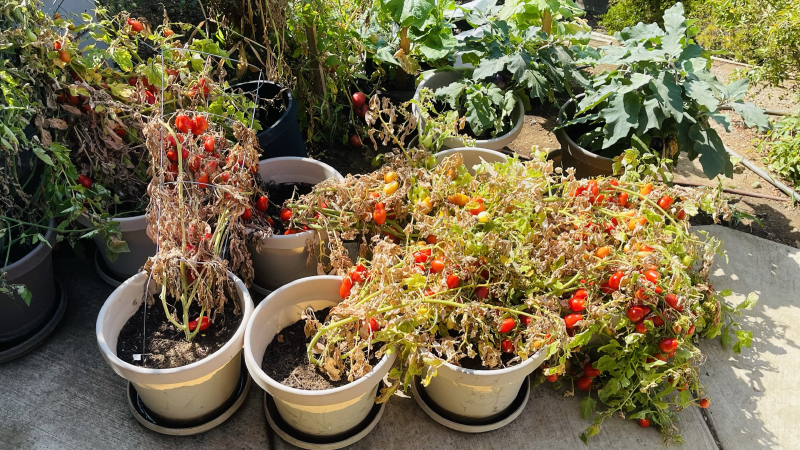
After the initial organic slow-release fertilizer inputs for my Roma tomato plants, I occasionally gave them a homemade fertilizer tea mix. At times throughout the summer, my Roma tomato plants suffered some neglect from vacationing. I still got about 10 pounds of tomatoes per plant (about average).
Roma, oxheart, and plum tomato varieties seem to be more susceptible to blossom-end rot than either regular slicing, beefsteak, or cherry types. Happily, I only had a handful of affected roma tomatoes with blossom-end rot from 8 plants in pots, even with some neglectful watering.
In contrast, my in-ground San Marzano plum tomatoes had a majority of about 80% tomatoes affected with blossom-end rot with the same treatment. I found my Roma tomatoes in plastic containers were less sensitive to blossom-end rot water issues.
Most Roma tomato varieties are determinate as well. The majority of their fruiting happens all at once which is a trait I’m appreciating more of when my yard is having an overload of pest issues.
During drought time, it seems I’m getting extra spider mites and aphids here when there’s an abundance of green juicy plants around while it’s brown and dry everywhere else. That just means most of my indeterminate tomato vines don’t stay healthy or survive long in my yard to keep producing well.
Some decisions I made before growing my Roma tomatoes during the drought…
1. What type of plant containers should I use during drought conditions?
This heavily depends on your environment.
My gardening space is at an unprotected area where rather strong wind constantly whips everything around – on a slope of a hill facing west. Most of the useable daylight hours for this space is during the hottest afternoon heat, too.
So, all my problems are with wind and heat.
I find that grow bags made of any kind of non-woven felt type material just don’t work for me with tomatoes here. I keep getting high water evaporation issues with those bags and that results in tomatoes getting blossom-end rot.
And I cannot just run the water multiple times a day to make a fabric bag work.
For my situation, any plastic container or solid plastic grow bag works best. Plastic pots, plastic 5 gallon buckets, storage totes - anything like that is awesome.
I would say use your common sense when choosing your container type.
For tomato plants, a low humidity, high heat, or high wind area probably requires a water-retentive container made of solid plastic.
If you’re in an environment where you’re getting constant moisture or lower temperatures, then containers that cause high water evaporation rates are good. Fabric grow bag, terracotta pots, wooden containers, and so on.
2. How big of a planting container should I use?
I used a 10 gallon pots filled with about 7 gallons of potting soil.
It would have been better to use a container filled with 15 gallons of potting soil for determinate tomato plants if I wanted to maximize my yield.
It’s possible to use smaller containers such as 5 gallon buckets, but it’s good to keep in mind that the plant and tomatoes it will produce will be smaller than average.
The problem with smaller containers is that you’ll have to be extra vigilant in making sure the tomato plant is getting enough water. Otherwise, blossom-end rot will be a big problem.
I’ve seen some gardeners make small containers work extraordinarily well for most tomato varieties by having an automatic watering system added with constant low-dose liquid fertilizer. However, I don’t find building out such systems to be cost effective if the place I’m staying at is a temporary location, at probably less than 3 years.
Bigger container soil volumes retain greater amounts of water for longer periods of time, so you can buy more time between waterings. Another thing to keep in mind is that it’s extremely difficult to impossible to move containers, especially grow bags, 20 gallons or greater filled with soil and a grown tomato plant.
3. What soil should I use in the container?
Any airy potting mix that retains some water, yet drains well. Your choice.
My mistake here was chossing an organic potting soil labeled as “moisture control” by Miracle Gro from Costco, because it was cheap. Yet it’s hard to rehydrate and when it’s soaked with water then it tends to remain sludgey for a while. I had to mix in additives that cost additional money to make this potting soil useable.
Any sludginess or drainage issues in your potting mix will cause stunted growth.
Roots need some oxygen for the plant to function properly. Ingredients that break up the soil and help drainage such as perlite, pumice, bark, composted wood chips, etc need to be included or mixed into your potting soil.
4. Should I use any additional additives in my potting soil for water retention?
Usually no.
Most potting soil or mixes are already composed of water retentive ingredients such as coir, peat, or vermiculite.
Compost and most any organic material can be considered water retentive. Even clay is water retentive and great for that.
I used water polymer crystals in my potting soil because it’s just what I happened to have on hand to break the soil up to help with my drainage issues.
Otherwise, for containers 5 gallons and larger, I would say water gels are mostly a waste of money. You don’t need it, and it most likely ends up being counter-productive once the tomato plant gets to the fruit-bearing stage.
I found the water gels to be great in the sense that while the tomato plants were growing up before the fruit-bearing stage, I could go 2 weeks without watering them.
Then once the tomato fruits started forming, I got the impression that I was putting in an excessive amount of water in the pots, yet it seemed like I wasn’t satisfying the plant’s needs at times.
Later I found out that it’s possible the water crystals were competing for water with the plant’s roots, especially if the gels are mixed in the soil rather than layered.
I suspected this when I later had other large heirloom tomato plants in smaller containers without water gels and I didn’t feel like I had such watering issues.
I still like using water crystals for small pots, and for some indoor plants. I have to be careful here too because some plants don’t seem to grow well with water gels, such as rosemary and other herbs.
How did I prep my containers?
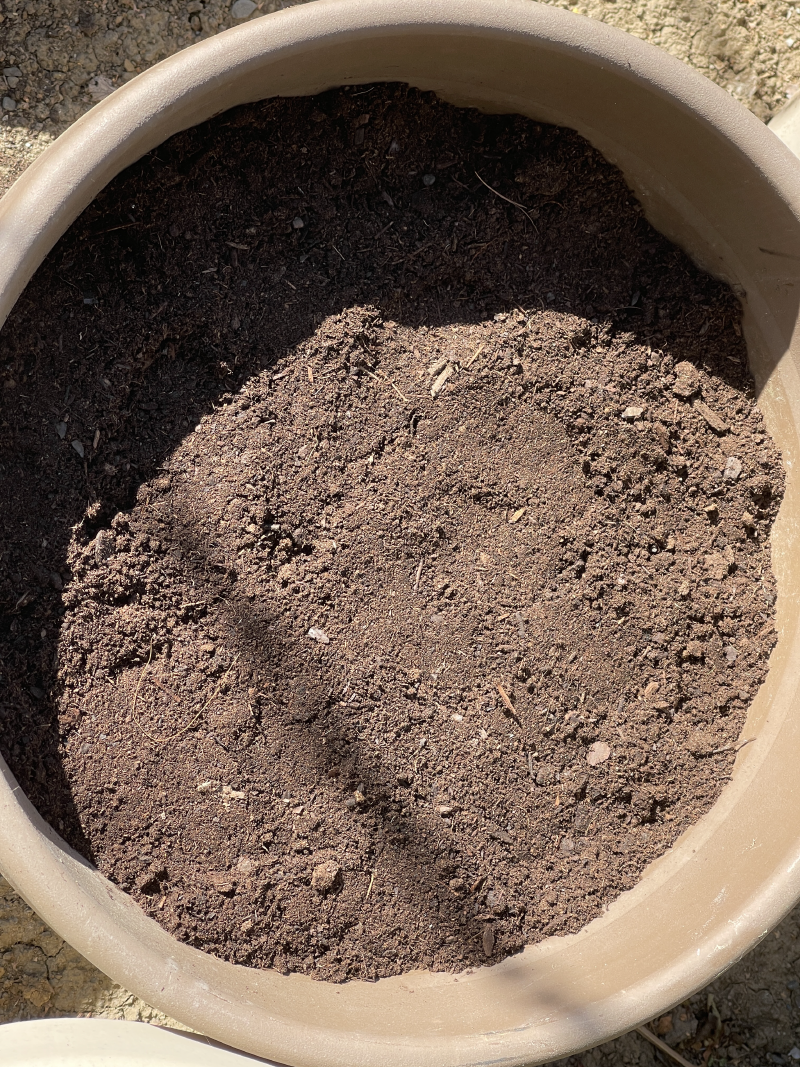
First, I used some of the previous season’s potting soil – I took it out of the container, put it on a tarp, and broke it all apart. This let me view how well chunks of plant material decomposed and it aired out and fluffed the soil.
I was doing this in February and I didn’t grow anything the previous fall/winter season, so my old season’s potting soil with plant roots and chunks decomposed very well.
I took my 17" top diameter pot (14" height), and filled it a little more than half of the way with my old potting soil.
Then I added some of those water gel crystals, about 2 cups.
burpee and jobe organic tomato plant food. jobe stinks burpee doesn’t.
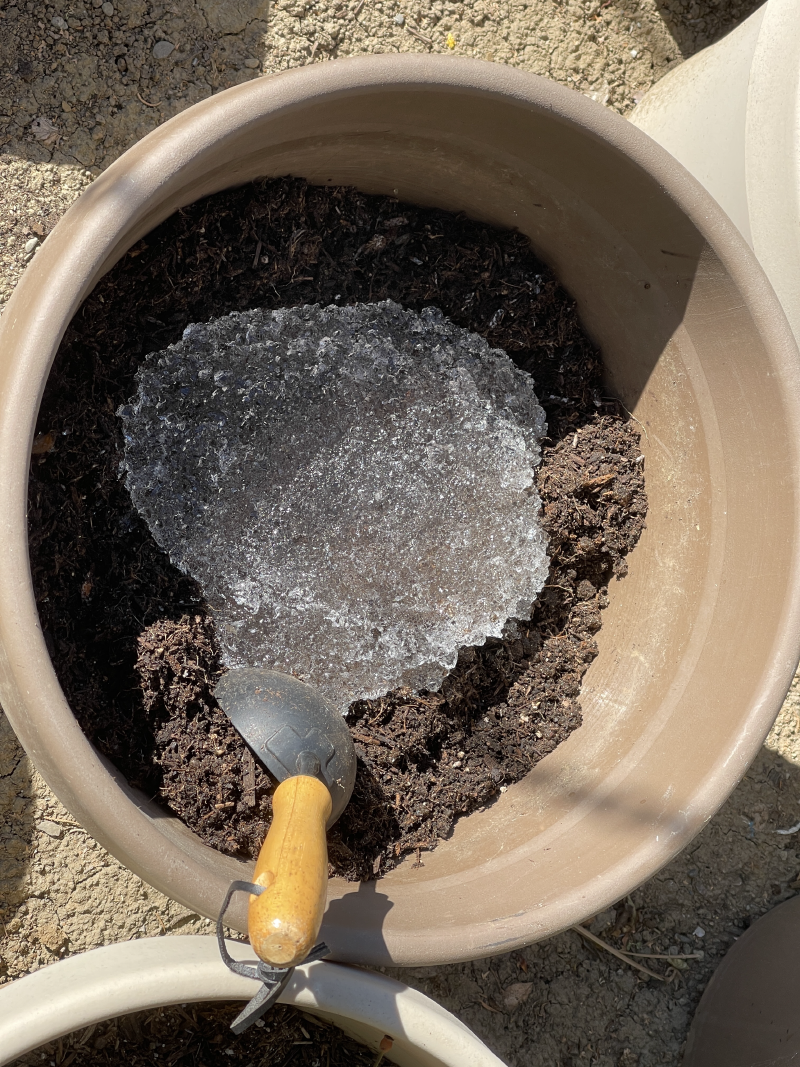
Then I added some organic slow-release tomato fertilizer, also about 2 cups worth. I had bags of Jobe’s and Burpee’s fertilizer on-hand.
Side-note: Almost all organic fertilizer brands stink and I find that racoons and other animals are attracted to the smell. The smell subsides after a few days, but in the mean-time, animals will dig through your fertilized soil looking for food. If you have animal problems then you may prefer deoderized fertilizer. I found Burpee’s to be mostly stink-free.
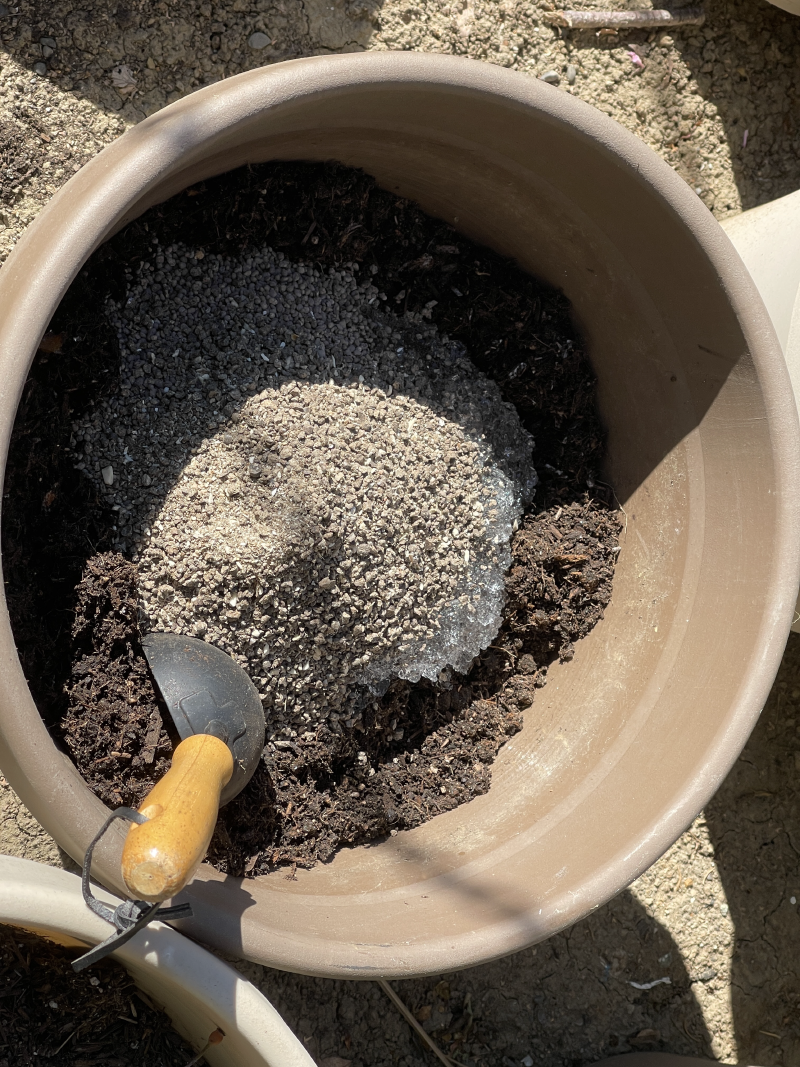
I mixed the soil, crystals, and fertilizer together well enough.
If I would use water crystals again, I would not mix it in with the soil, and instead try to do 1-2" layers of crystals. Probably one layer of crystals on the bottom of the pot, and one layer in the middle. It’s possible that there’s an effect where the water crystals compete for water with the soil and plant roots when the crystals are all mixed in the soil, rather than layered.
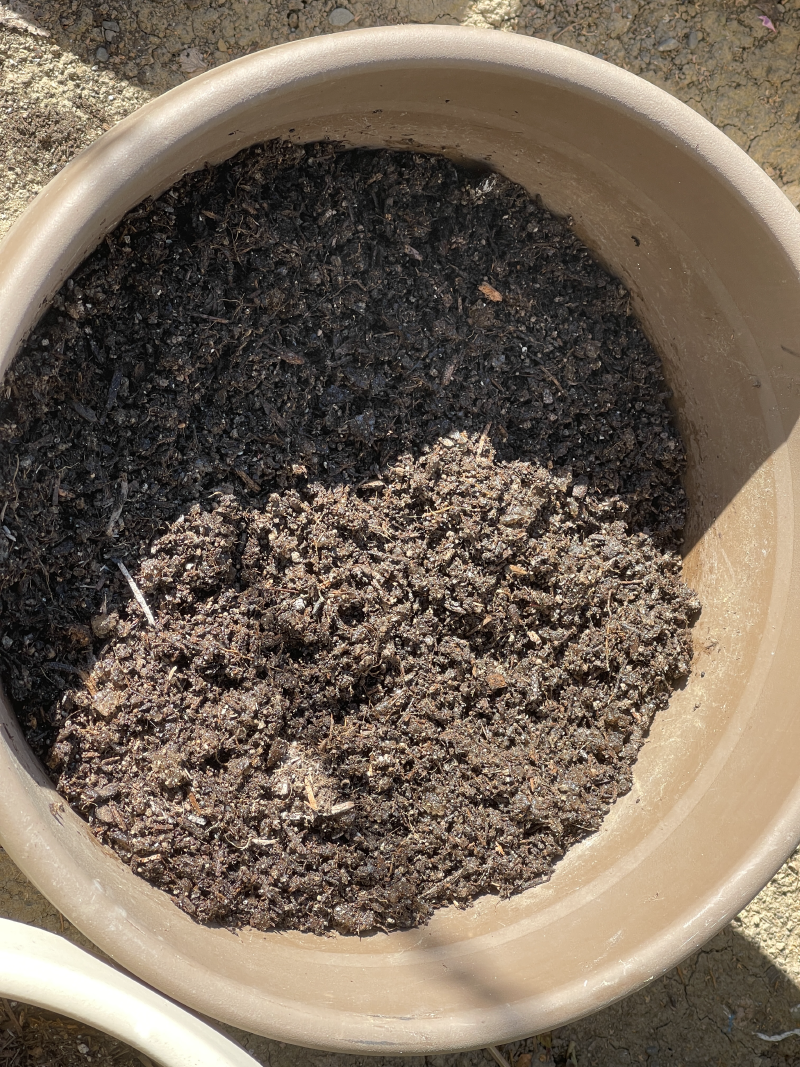
Then I also mixed in some fresh potting soil. I used the Miracle Gro organic moisture control potting soil from Costco, but as noted above, I don’t particularly like this product, but it was ok for my tomato plants in this potting mixture. And it’s better than nothing.
I topped off the pot with the fresh potting soil and made sure the water crystals were well-covered.
What maintainance was done for my Roma tomato plants?
The main task for my Roma tomato plants was watering, especially when the plants start to flower and get big.
Fertilizer
If possible, it’s good to put in fast-release fertilizer once a week once the plants have over 3 pairs of true leaves. I think Miracle Gro’s tomato fertilizer is great if you can get it, but it became rather pricey this year (2022). It’s $10 for the tiny 1.5 lbs box at my local Lowes, which is nearly double the price.
Once there’s some set fruit, it’s good to put in another dose of slow-release fertilizer.
This year as an experiment and to improvise since fertilzers became rather expensive, I’ve been making a kind of “tea” from wild weeds and other unwanted plant matter growing around my property. Weeds with deep tap roots tend to have a lot of minerals, such as dandelions. I’d even use stuff like banana peels, or whatever green waste I thought may have some nutrition left.
I used a leftover clear plastic cookie container, filled it with plant matter, filled it up with water, covered it up, and let it sit in the sun for a week or more.
The resulting “tea” solution actually does look like tea, it looks like some of the plant matter sort of melted into the water.
I’m not sure what to call this resulting “tea” solution, except maybe “fertilizer tea” or just “plant tea.”
It’s easy to take some of this tea solution and dilute it with water. I didn’t use any exact measurements, but I took my 1.5 gallon watering can and put in about an inch of the “tea” and the rest was filled with water.
I would consider this resulting “plant tea” a more slow-release type of fertilizer. And I would dilute this tea because once the microorganisms start breaking it down, it creates some heat which may disturb your plant. This is generally true when composting any bio waste, and why you wouldn’t want to grow anything directly on uncomposted material (unless there’s enough space away for the plants roots). The heat in a proper compost pile is high enough to kill and cook any plant.
Pruning and Plant Support
I did not prune my Roma tomato plants this time.
Most varieties of Roma tomatoes are determinate, and most of the advice I’ve seen is that it’s counter productive to prune any determinate tomato plants. Determinate-type tomatoes don’t vine and don’t produce an indefinite amount of flowers, so pruning branches may reduce yield.
It’s probably a good idea to get rid of the bottom-most leaves touching soil to help prevent disease issues though. I ended up leaving all the leaves down there however, and it appeared to have a nice mulching effect - they kept the soil cool and damp during the heat here.
Normally and especially during drought, it’s a good idea to use mulch for your plants. Unfortunately, I had to avoid regular mulch this year since I had a massive problem with earwigs where they destroyed my plants and mulch can give them an ideal environment.
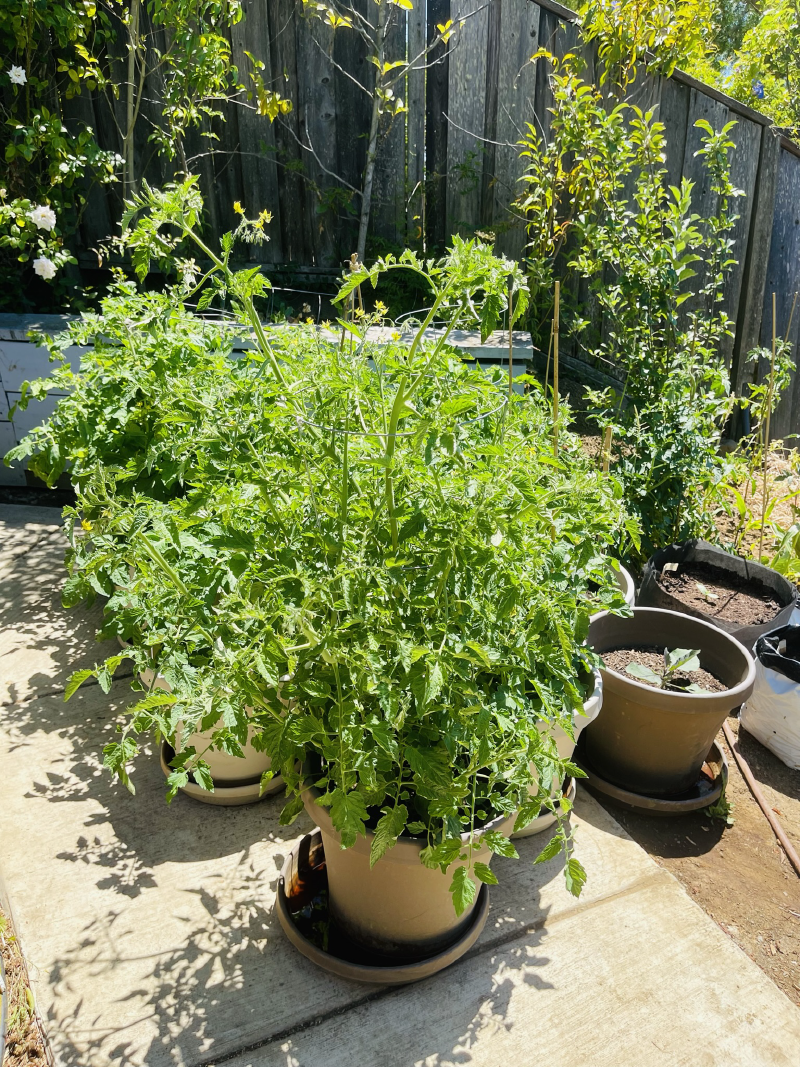
This time, I had no luck in supporting the Roma tomato plants once they became massive and covered in tomatoes.
I used my old tomato cages to try to support some of the tomato plants in the pots, the flimsiest type. Even though the pots are rigid plastic, once the plants grew bigger fruit, the tomato cages fell over.
I also tried using groups of 3 foot bamboo stakes to make a cone, but that fell apart easily for me, too.
A regular 3 foot wooden stake inside the pot fell down and couldn’t bear the weight of tomatoes as well.
The Roma tomato plants I grew grew massively and sprawled out and all over during final stages of growth. I suspect I would have trouble taming the resulting heavy big bushes, even with a solid stake firmly in the ground.
Results
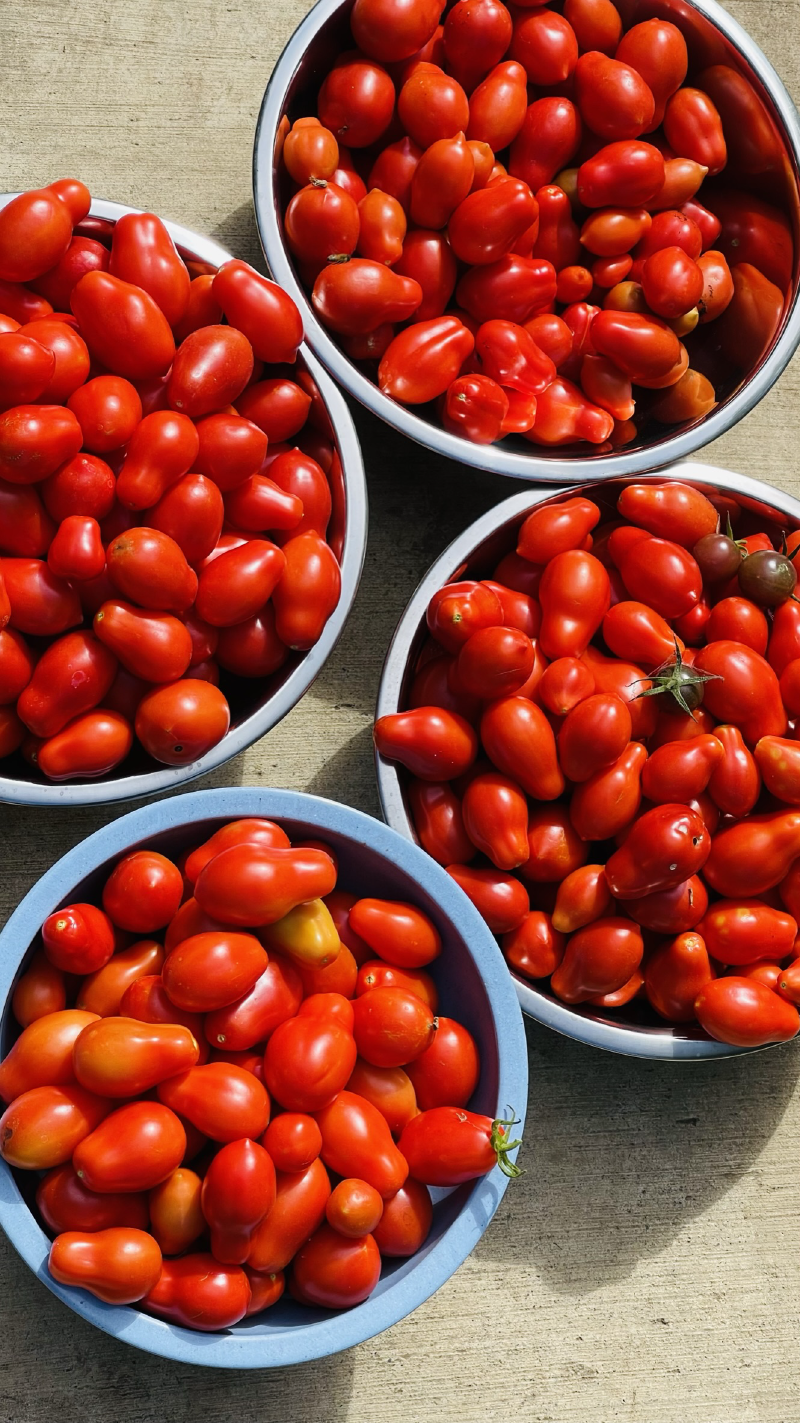
In the end, the plants produced too many tomatoes to use for just my household. Most of them ended up being turned to sauce.
For 8 plants in 8 pots, I got about 80 pounds of useable tomatoes. I didn’t count tomatoes that were damaged, or rotted.
After one extremely hot weekend while I was away, I lost a good number of tomatoes to sun damage. A couple of bushes fell over and exposed tomatoes, and they basically cooked in the sun.
This turned out to be a fun experiment, and it was great to see what happens to Roma tomato plants grown in containers during the drought here.
